
Camp Joy is our favorite part of the summer! This year, we were not able to meet in person, but that didn’t mean that we couldn’t have fun!
We had daily activities and/or silliness available using simple supplies that you likely had at home already.
Here are all the Camp Joy activities!
Day one-
What happens when you forget to set up for the most important part of the summer?

Day two- Leak Proof Bag
Merideth and kiddos demonstrate a fun water activity!
Check out more info on Steve Spangler
How many skewers or pencils can you get in your bag?
Can you do it without any leaks?

Day three – Juggling
Debbie and friends teach us how to juggle!
Check out this juggler, his name is Paris:

Wouldn’t you love to learn how to juggle? Paris made a video to teach us how. This video was made as part of Family Maker Camp, which has a bunch of fun activities that you can do.
You will need three plastic bags.

Are you doing it?

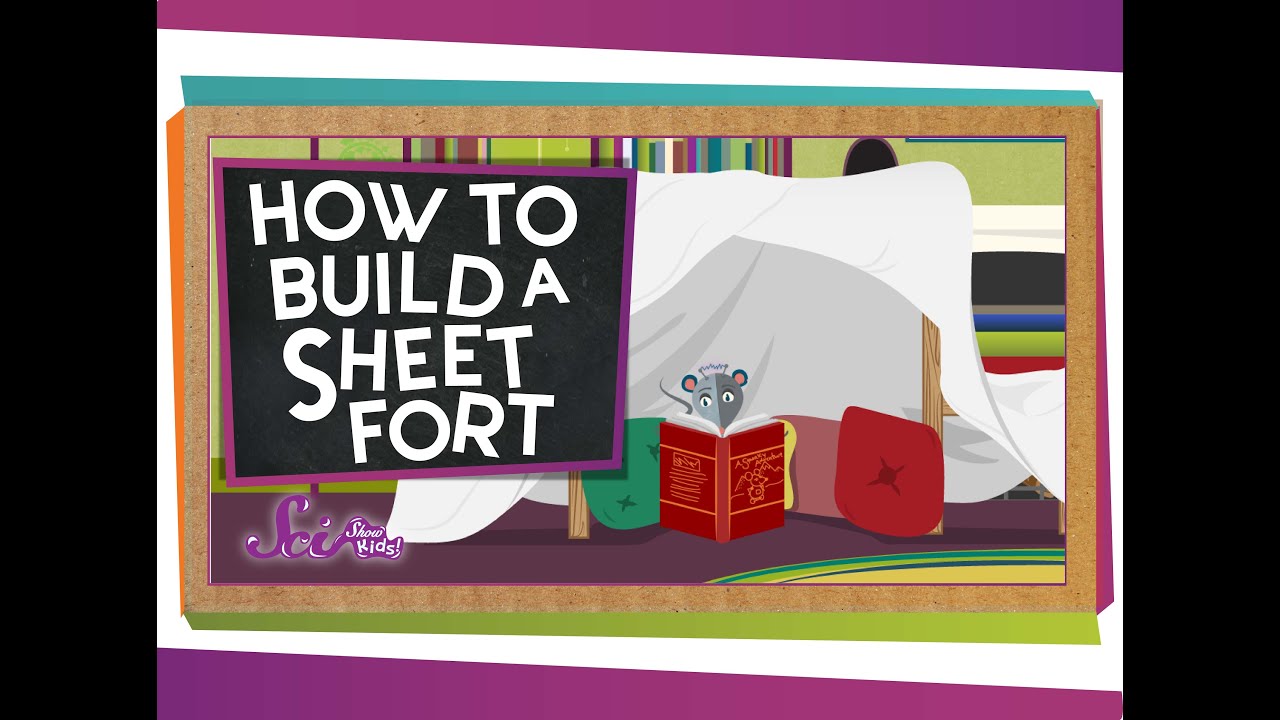
Day four – Family Fort Challenge
Kate and friends share ideas for how to build an epic fort! Can you build one as a family?
We love making living-room forts, here are some material ideas:
blankets/sheets
chairs or couch
pillows
anchors or weights
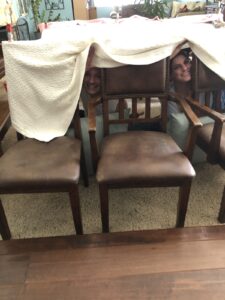
Did you know that building living-room forts is a form of engineering? Check out these YouTube videos to learn what engineering concepts you will be using!

Day five – Sing Along!
A favorite from last year!

Day six – Skit
What have you been learning about your family as you have been staying home together?
Let’s find out what Sam has learned about some of his family members.

Day Seven – Succulent Planting
Danny and Audrey teach us how to beautifully plant and care for succulents.
Supplies needed:
Succulent cuttings from your garden
A container (with drainage preferred but any container works)
A well draining potting mix/soil
Sea shells, rocks, or other top dressing for decoration (optional)

Day Eight – Bubbles!
Debbie shares fun bubble activities and art with us today!
I love bubbles! Let’s learn all about them and then head outside to play with them!

Make a bubble snake –

What are some other things you can use to make bubbles?
See if you can make some giant bubbles!
Are you ready to make some bubble art? This one is messy, so stay outside and cover your work area with newspaper! Here is what you will need:
Small bowls
Straw (one for each person)
Food coloring
White card stock or watercolor paper

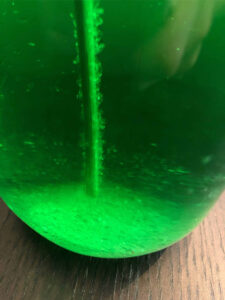
Day Nine – DIY Lava Lamp

Day Ten – T-Shirt Bag
Kate teaches us how to make an easy bag out of an old t-shirt!

Day Eleven – Dance Along
One of our all time favorites from our first year!

Day Twelve – Science Prep
Today we prep for two fun experiments that we will get to see grow and change over the next week.
Experiment one:
Ingredients:
white vinegar
jar
egg
Experiment two:
Ingredients:
2 cups of water
6 cups of sugar
optional: food coloring
wooden skewer
jar
sandwich baggie

Day Thirteen – Water Day
What fun things can you do for water day with your family?

Day Fourteen – How to Make and Play the Cajón
Make your own simplified version of a cajón and learn to play it with Pastor David!


Play your cajón with your favorite music!
Day Fifteen – Solar Oven S’mores
Ready for something sweet?

Day Sixteen – Raising a Monarch
Butterflies are so beautiful! We can raise them at home with care

Day Seventeen – Family Olympics
Join the Hicks Family for some great ideas on how to have some competitive fun!

Day Eighteen – Science!
Our “egg”citing conclusion after we prepared our experiment last week!

Here is a picture of how our rock candy started out. What do you notice?
Day Nineteen – It’s FREEZING!
Try some ice sculptures:

Make something healthy and delicious at home!
And make some popsicles!
Camp Joy Popsicles!
Just 2 Ingredients: White Grape Juice Fresh Berries
Directions:
Fill 3oz dixie cups with fresh berries and pour white grape juice over them leaving a bit of space to avoid spillage.
Add sticks into the center of each popsicle—we used cake pop sticks, but you can use wooden popsicle sticks, small plastic spoons or whatever you already have at home.
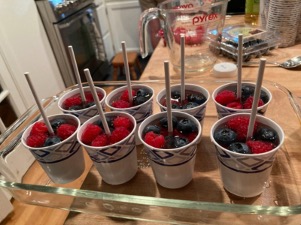
Arrange filled cups on a tray and place in the freezer. After about a half hour, they should be slushy enough that you can straighten the sticks if they have gone crooked.
It will take at least a few more hours for the popsicles to completely freeze so you may want to plan on eating them the day after you make them.
Day Twenty – Leaf Prints
Time to get out into nature and make some art too!

Day Twenty-one – Foil Rivers
Some extra water fun! This is so very much fun! We join our friends who show us how it’s done!


Soooo creative!! Can’t wait to try out some of these projects. Thanks for your time and energy!